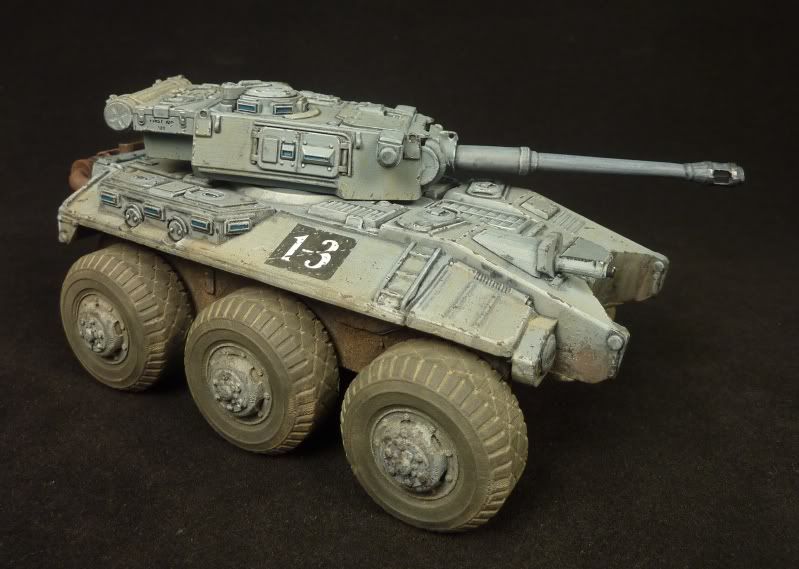
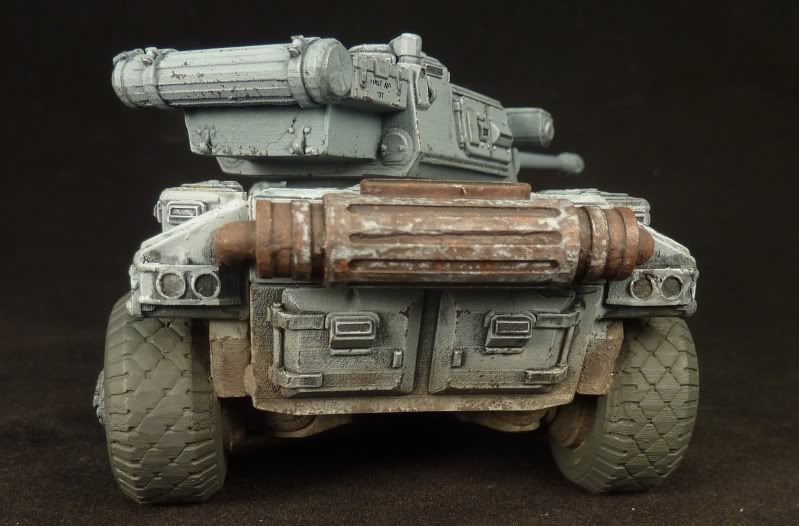
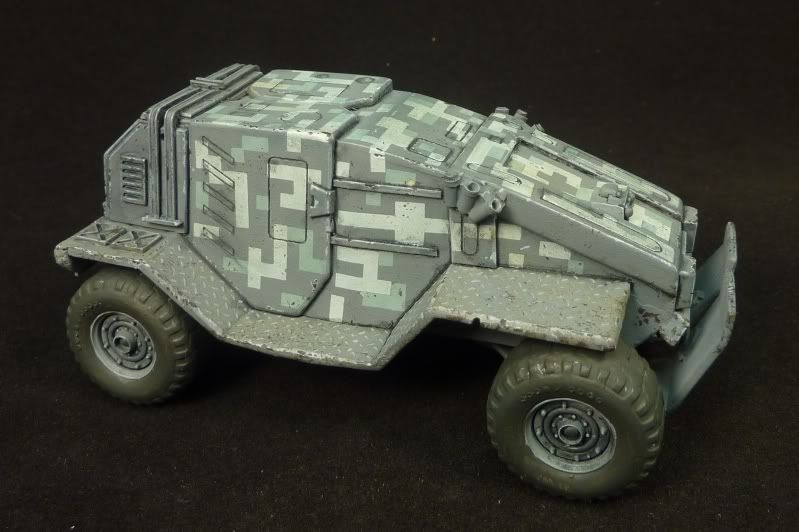
...but in the middle of prepping twenty-odd figures to paint for a mate (by April!) I thought I'd attempt a little surgical work on the second 6x6. Generally very well received (both PJ and model) on the various forums I frequent, there where one or two comments regarding the size and positioning of the exhaust and whether it was feasible to remove it. Well....
...it is
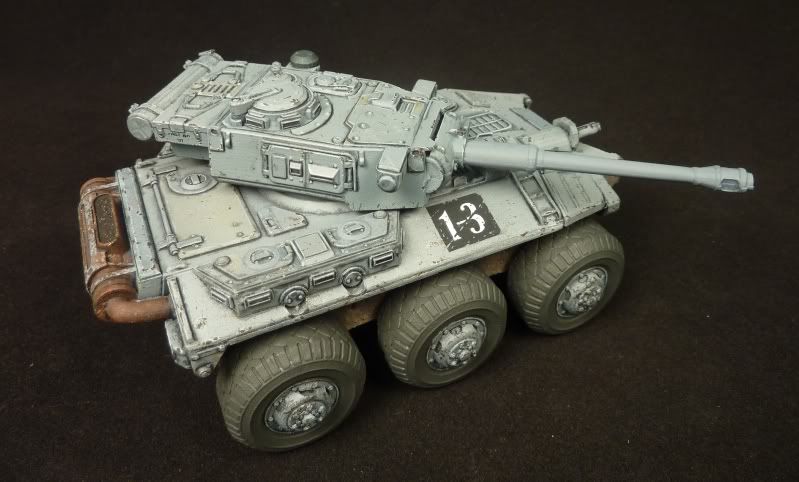
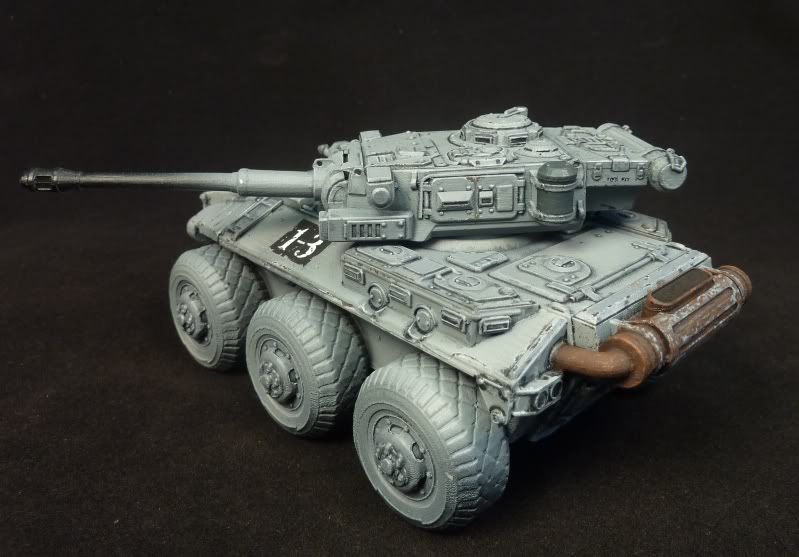
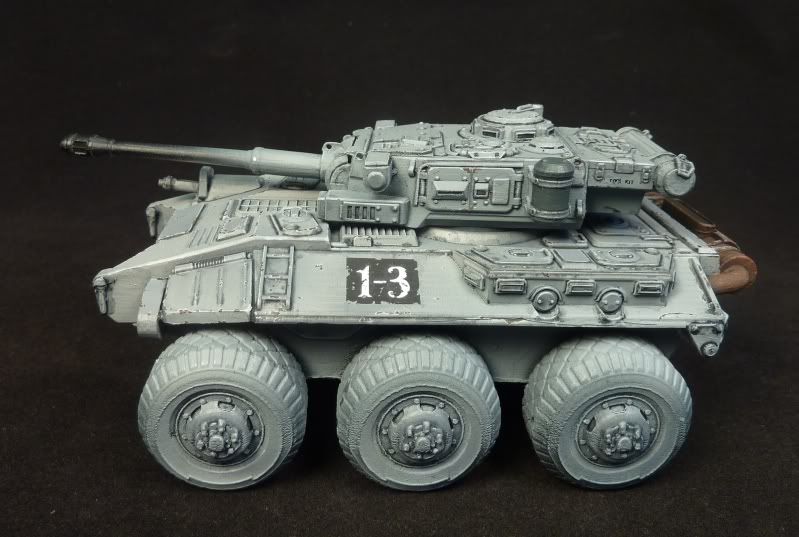
the cut hasn't been cleaned-up yet and you don't need to throw the exhaust in the bits box as it fits nicely on the bottom of the hull either this way
or the way I'll have it (aligns nicely to fit with the holes where the piping was removed and where the new piping will emerge from); it doesn't protrude much further than the axles although the angle i've taken the pic from would seem to suggest it does
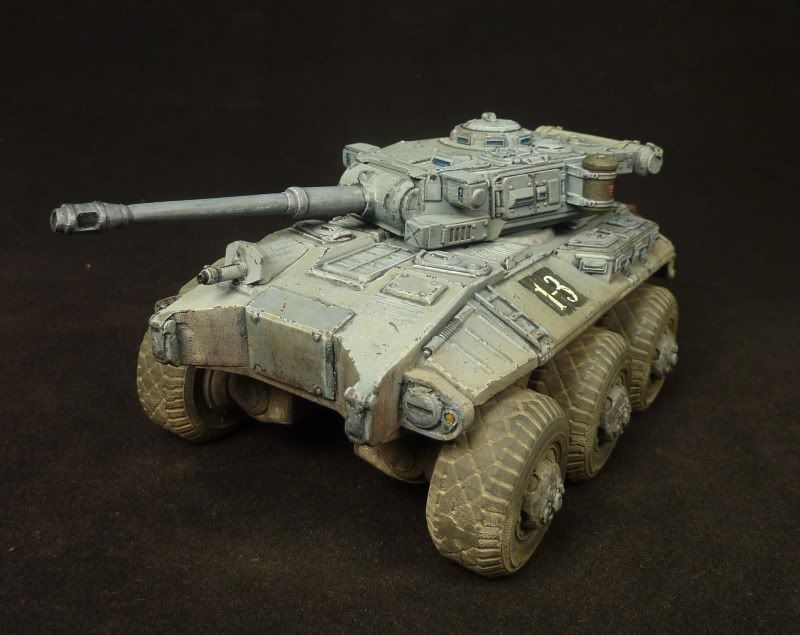
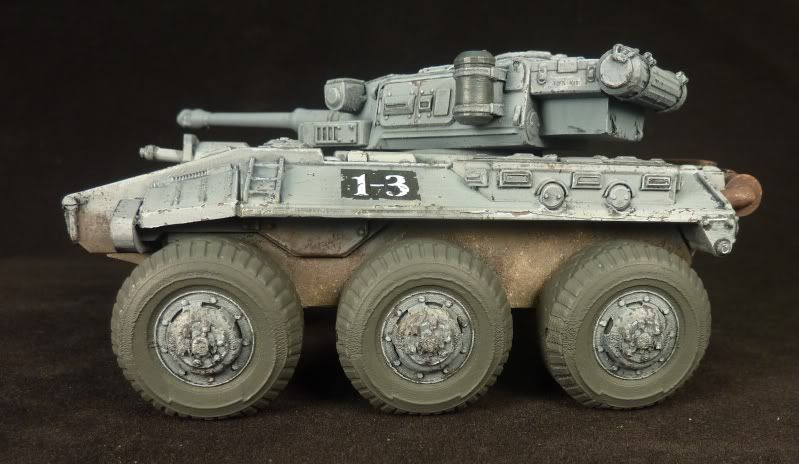
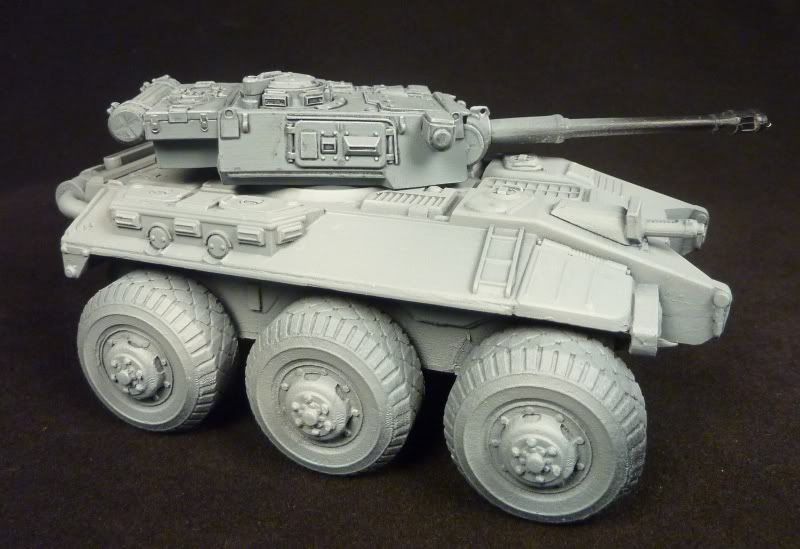
still looks ok in profile
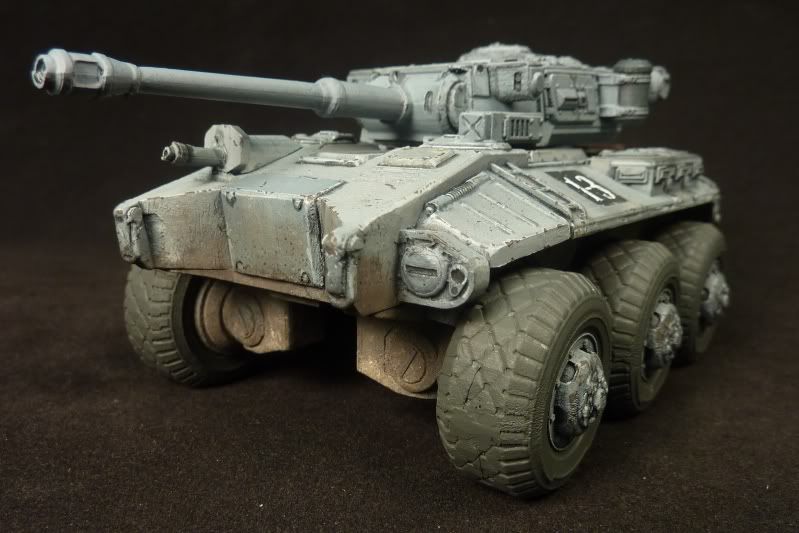
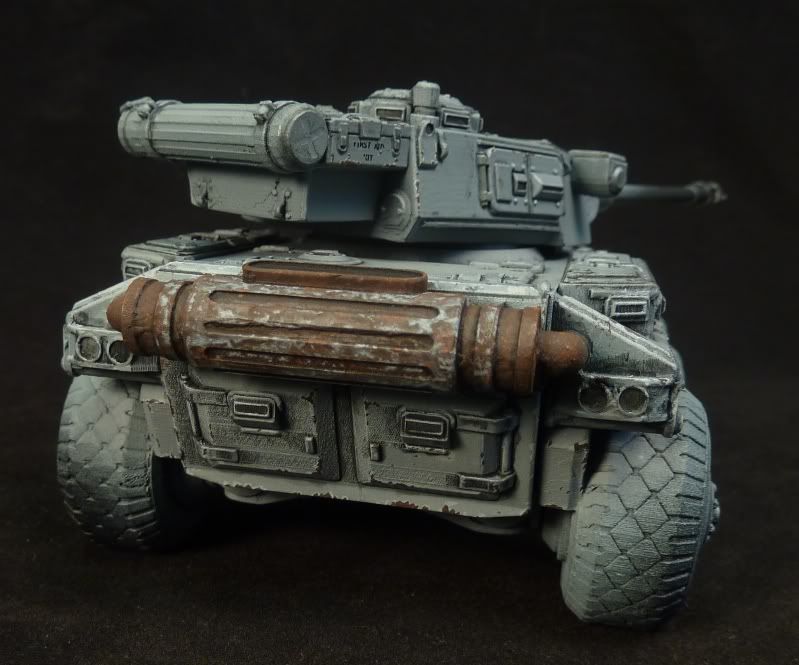
and the 'damage' can be hidden with stowage
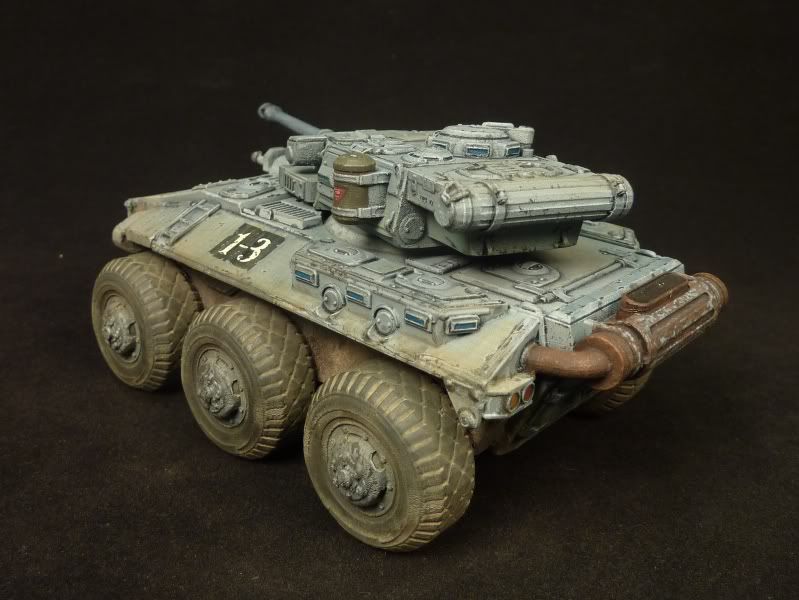
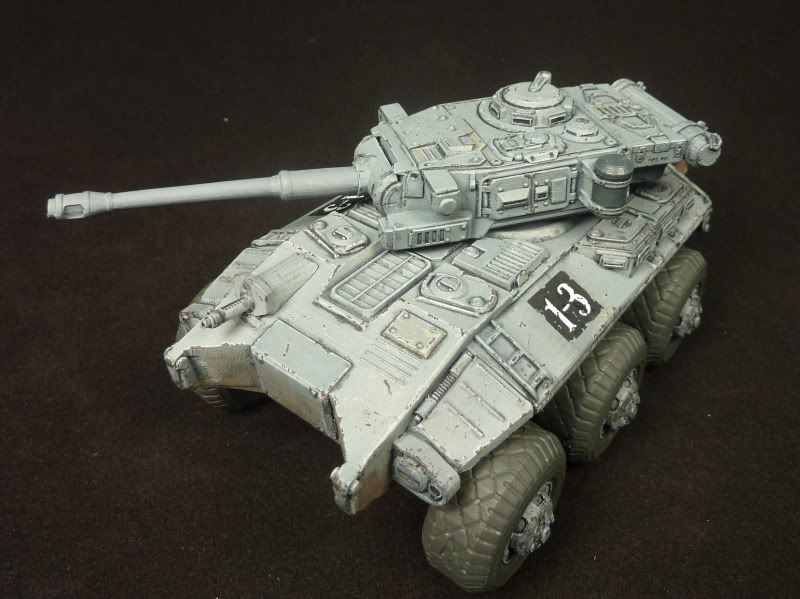
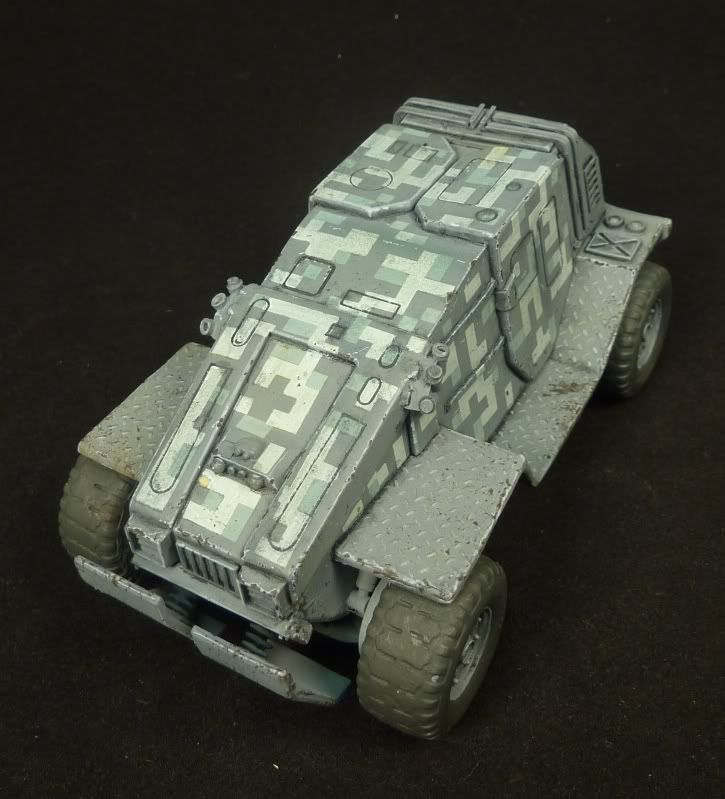
As you can see I've started to make a stowage rack but when ordering another 6x6 to replace the one I'm 'butchering' I discovered these etched-brass panniers so I've ordered a couple and will wait 'til they arrive before continuing.
Thursday, 2 February 2012
Tuesday, 31 January 2012
Monday, 30 January 2012
6x6: pigments...
...applied to the lower hull and the tyres given their base coat and a very subtle drybrush with a slightly lighter shade.
I've also started fading and staining selective areas of the paintwork on the upper hull with Mig filters. it is just about visible on the reinforced armour on the front of the hull...
...and on the rear, upper-hull hatch although I've also blended blue and grey filters on the sides around the vehicle numbers.
Sunday, 29 January 2012
Friday, 27 January 2012
6x6: enhancing detail...
...starting with the turret. I've lined (with a very diluted black oil paint wash) and edged/highlighted (with lighter grey acrylics) all that wonderful detail on the turret. The black oil wash has been allowed to 'seep' away from the detail to stain the original base grey. I've not started the hull before photographing so you can see the difference. Jeremy wants his to remain monochrome grey so I'll use several different oil and enamel (Mig) filters to alter the tone of the varying surfaces very subtley before weathering. I might also paint the NBC air scrubber and the Schnorkel tube case different colours to the grey.
Thursday, 26 January 2012
Digital 'Bear'...
...has had a little more work done. Another filter, some scratches and chips applied and the tyres base-coated.
First 6x6 (Jeremy's)...
...base-coated. I've primed in black and based with Tamiya Lt.Grey highlighted with Sky Grey (and just realised it still looks like the resin it was cast in!). Ah well - a couple of filters and some lining and egdging will fix that.
Subscribe to:
Posts (Atom)