Tuesday 31 January 2012

6x6: finished...

...I think. I'll put it aside for a couple of days and have another look.


Monday 30 January 2012

6x6: pigments...

...applied to the lower hull and the tyres given their base coat and a very subtle drybrush with a slightly lighter shade.


I've also started fading and staining selective areas of the paintwork on the upper hull with Mig filters. it is just about visible on the reinforced armour on the front of the hull...


...and on the rear, upper-hull hatch although I've also blended blue and grey filters on the sides around the vehicle numbers.

Sunday 29 January 2012

Friday 27 January 2012

6x6: enhancing detail...

...starting with the turret. I've lined (with a very diluted black oil paint wash) and edged/highlighted (with lighter grey acrylics) all that wonderful detail on the turret. The black oil wash has been allowed to 'seep' away from the detail to stain the original base grey. I've not started the hull before photographing so you can see the difference. Jeremy wants his to remain monochrome grey so I'll use several different oil and enamel (Mig) filters to alter the tone of the varying surfaces very subtley before weathering. I might also paint the NBC air scrubber and the Schnorkel tube case different colours to the grey.


Thursday 26 January 2012

Digital 'Bear'...

...has had a little more work done. Another filter, some scratches and chips applied and the tyres base-coated.


First 6x6 (Jeremy's)...

...base-coated. I've primed in black and based with Tamiya Lt.Grey highlighted with Sky Grey (and just realised it still looks like the resin it was cast in!). Ah well - a couple of  filters and some lining and egdging will fix that.


Second 'Sasha'...

...head finished

Tuesday 24 January 2012

Antenociti's...

...'Bear' is topping the polls at Tabletop Gaming News for best vehicle - the most versatile, best value for money (three build options) Gaming vehicle on the market. Go vote for it!

The shelves...

...and the workspace. Having a chat the other day about the 'plastic pile' (and in my case the 'metal pile') and how much of it will be built/painted. I thought I'd post some pics of what's on the shelves (plastic) and show you my workspace at the same time. This could get a bit boring after the first couple of pics so I'll insert a jump break and you can 'read more' if you wish....
As the last post was the WIP 1/20 Falke I thought I'd start with my selection of Ma.K models waiting to be built


Monday 23 January 2012

Sunday 22 January 2012

Micropanzer....

Amakudari Strider. Did a little more work on the 'metal parts' - painted them grey and then lined and edged the whole 'mech'. Did a very subtle drybrush then added the first filter (tan) to the camo.


Friday 20 January 2012

6x6 comparisons....

....with figures -
Hasslefree


Heresy


Pig Iron System Troopers


Pig Iron Heavy Infantry


Thursday 19 January 2012

This is nice...

very nice! I picked up three Secret Weapon 6x6 Rapid Assualt Vehicles from the post office this morning (yep, customs got me - £21, could have had another one!) two for myself and one to paint for Jeremy. Let me say right away - I love it! Great design with lots of detail, several main weapon options and even a choice of two anti-personnel weapons to mount on the hull. Fit of parts is excellent and particularly well designed in terms of aligning parts. The main hull is cast in resin with the armanent cast in metal. As with any resin casting there are issues but I consider them very minor and should not present difficulties to anyone with a modicum of experience of working with resin. On to the photos.....
parts: you may have seen the parts and options on the Secret Weapon site but here they are anyway.


Wednesday 18 January 2012

A couple of 'vehicles'....

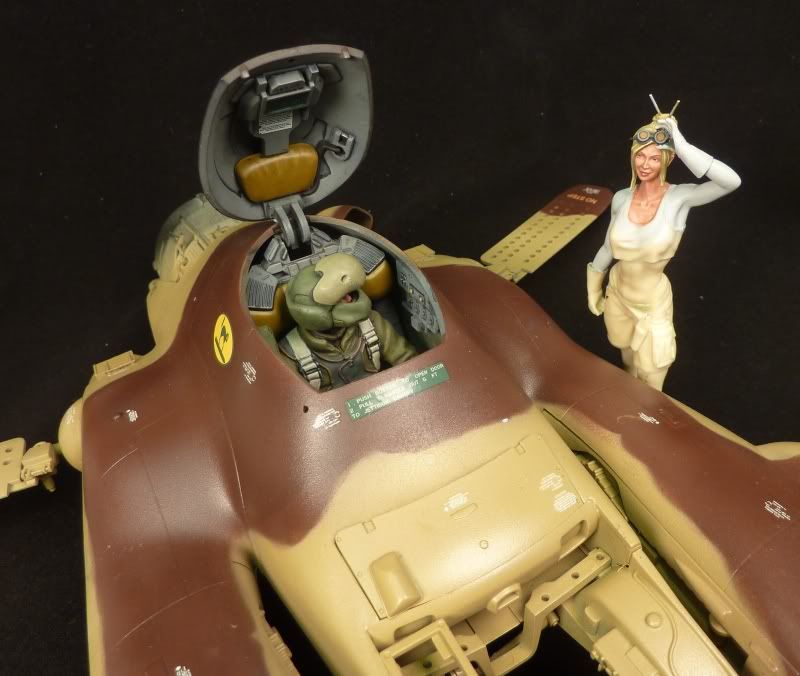
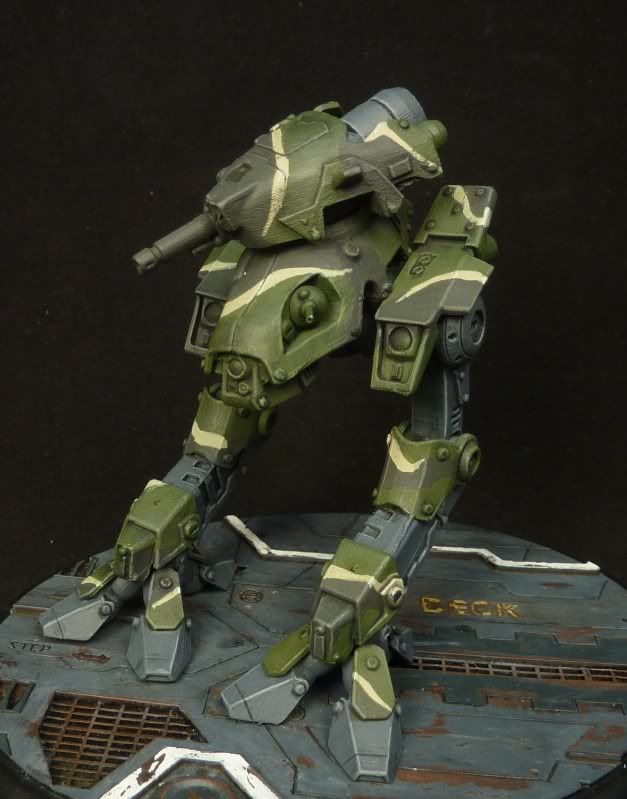
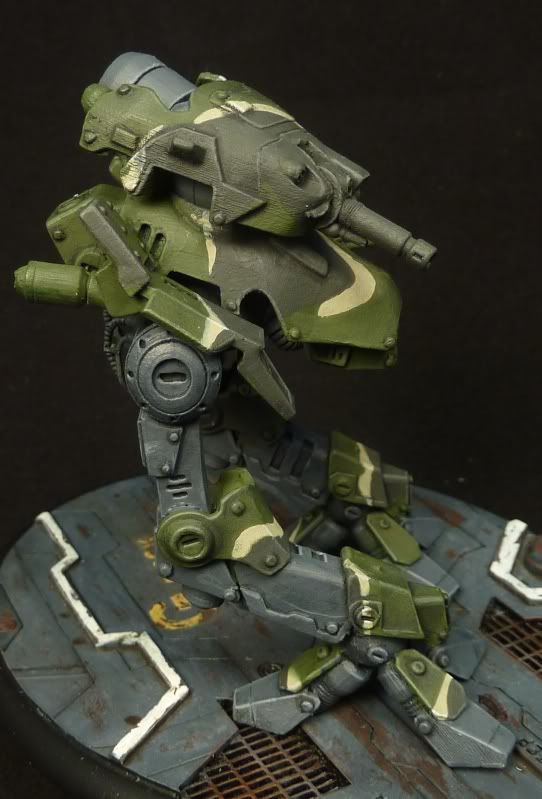
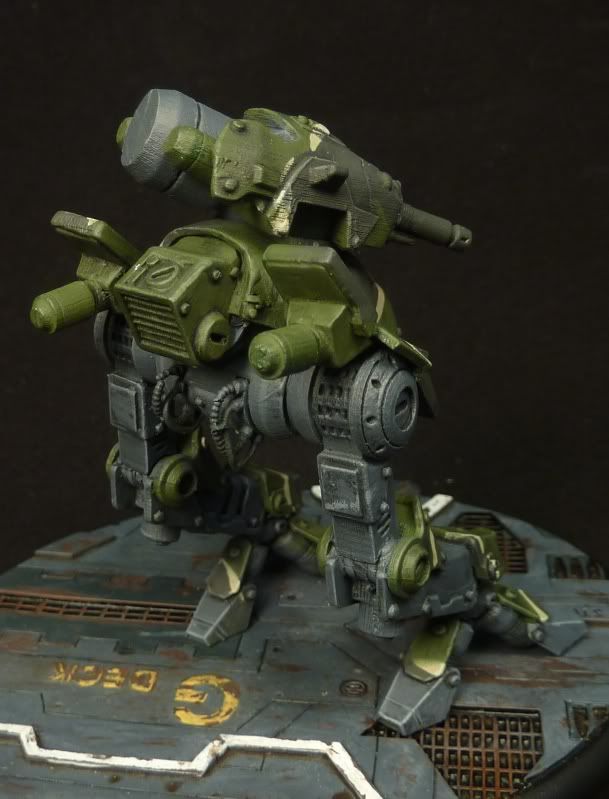
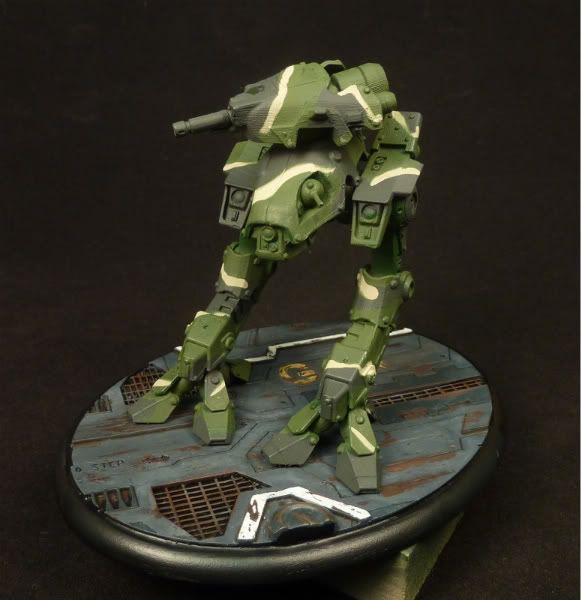
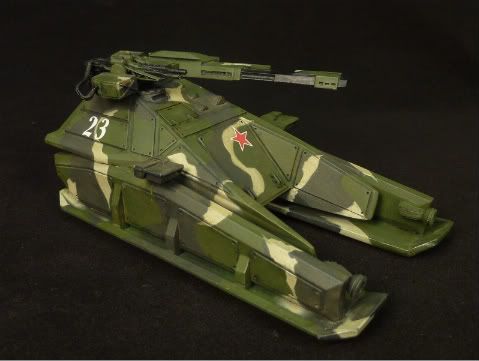
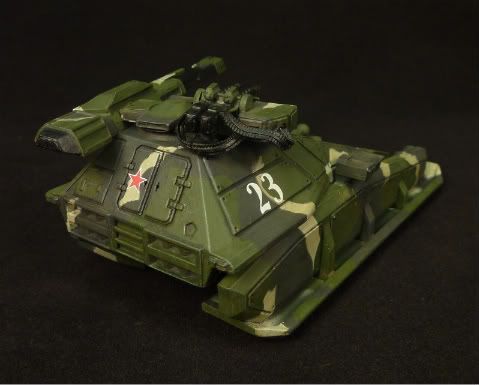
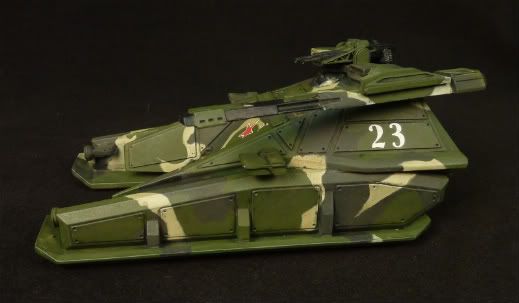
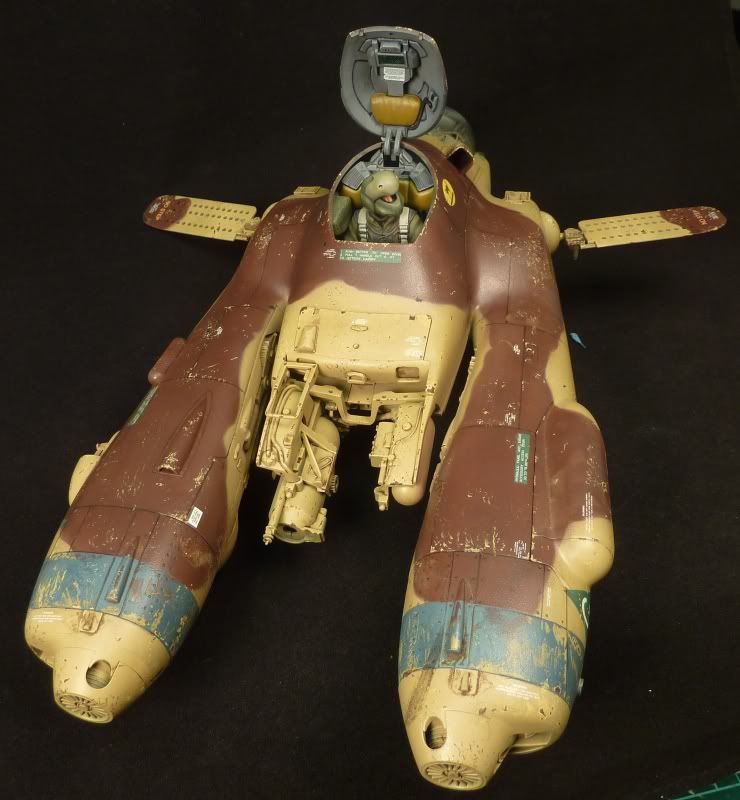
...I'm also working on. First is the Micropanzer 'Amakudari Strider', a nice companion for the Russian Heavy Combat Armour a couple of posts below. The Strider is a kit of several parts and it's advisable to drill and pin to secure joins. I did over a dozen, by hand with a pin vice - fingers are still sore! I think this is one of most aesthetcally pleasing 'mechs' I've seen in any scale. I'm planning a little diorama on this base - another of Ian's (Fenris Games) 'Ark' bases - a couple of figures and some crates/boxes. At the moment I've only painted the base camo.


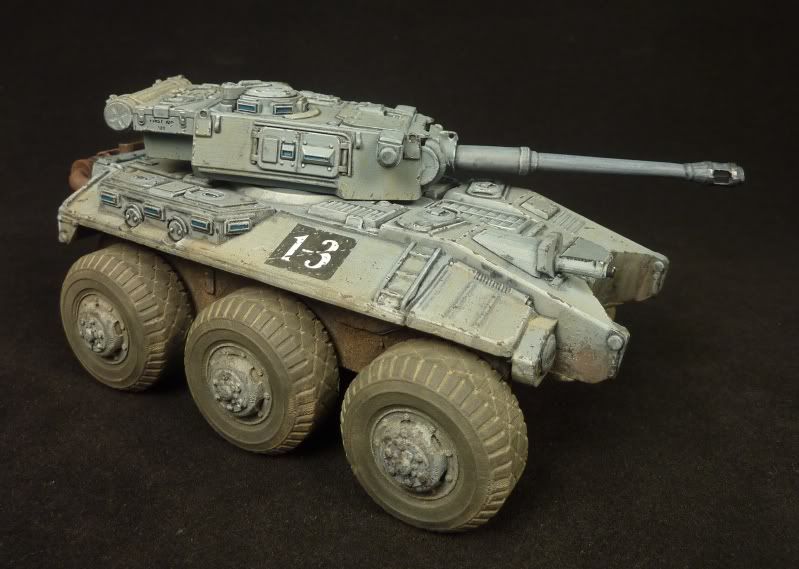
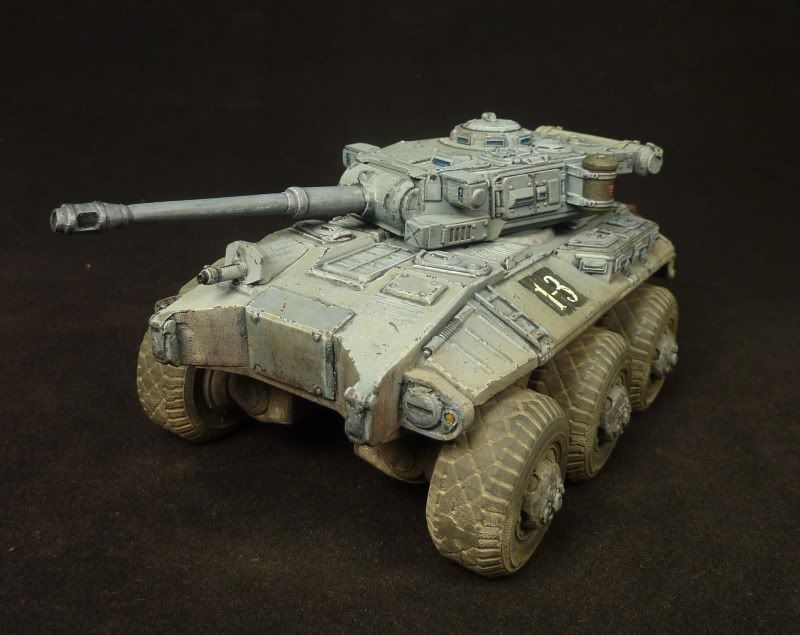
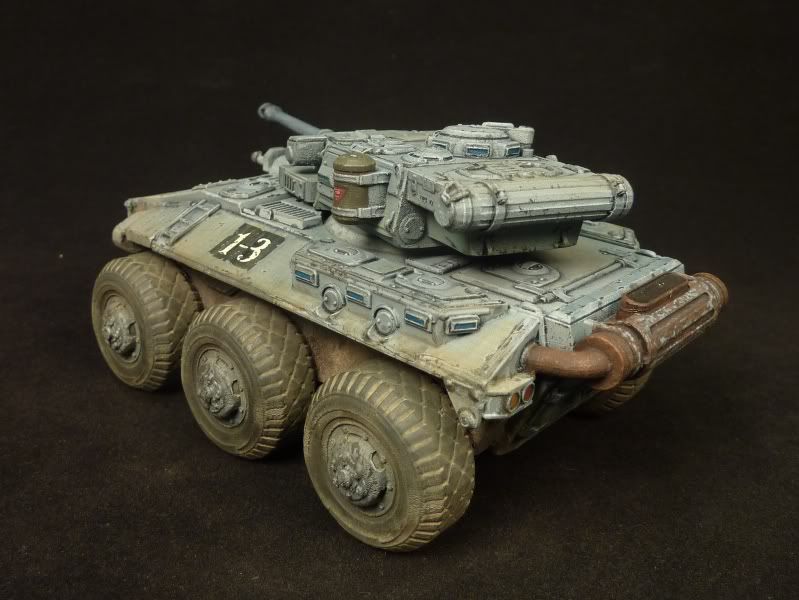
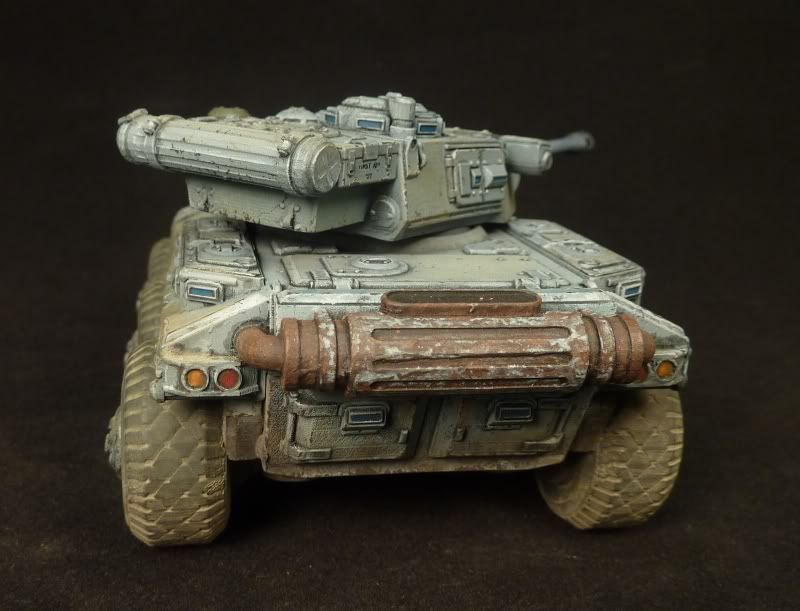
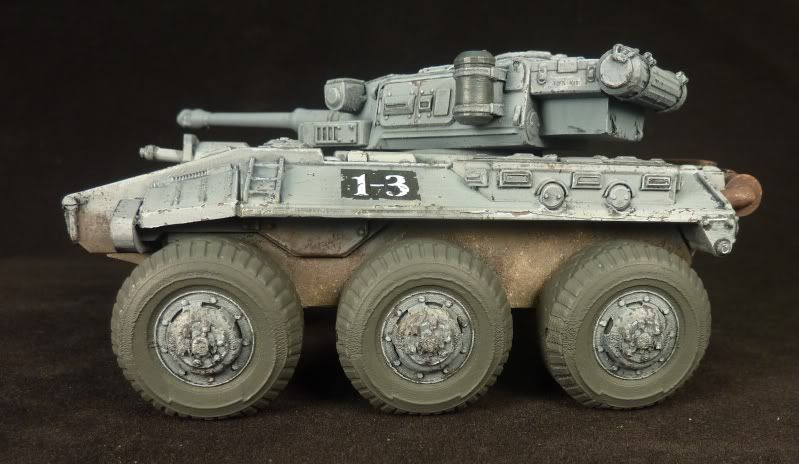
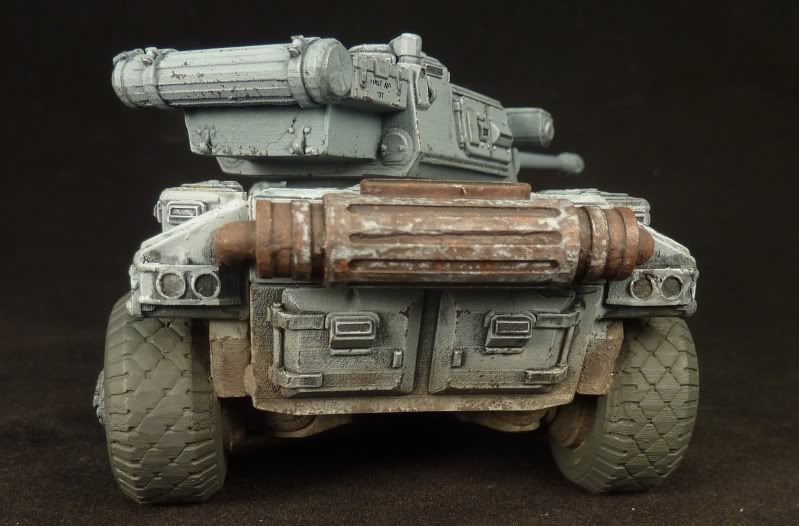
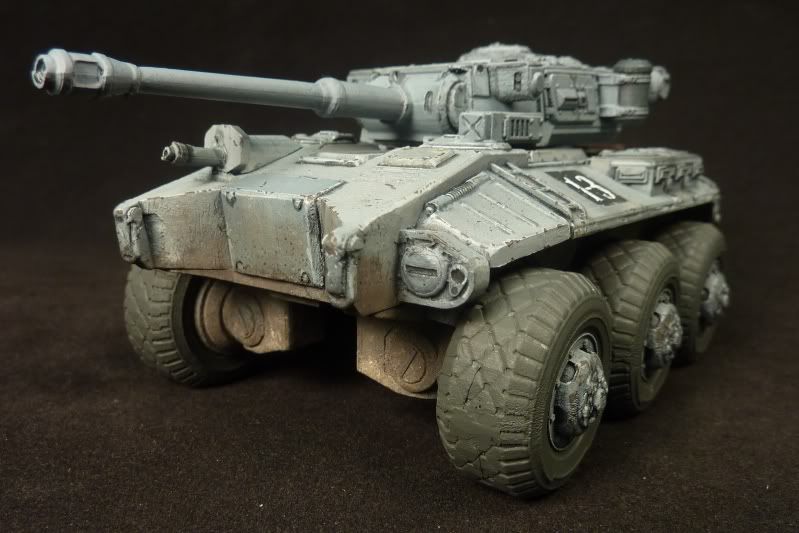
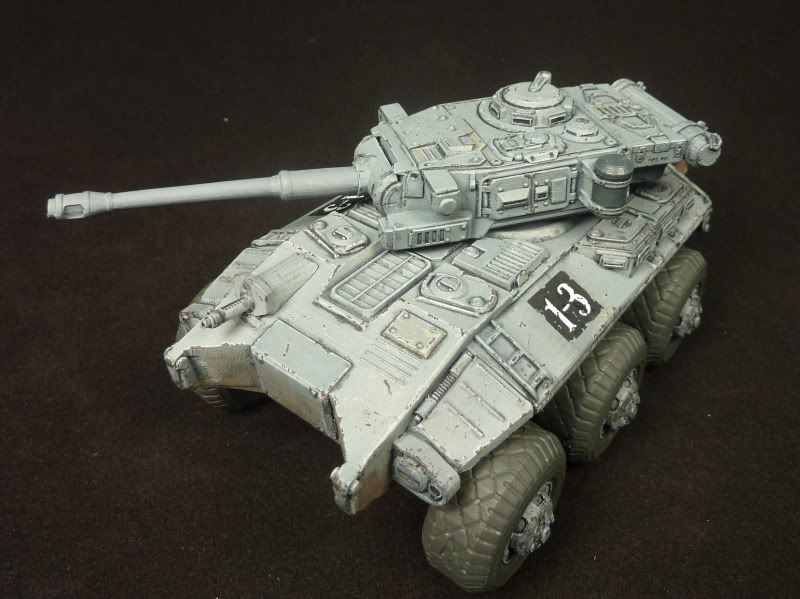
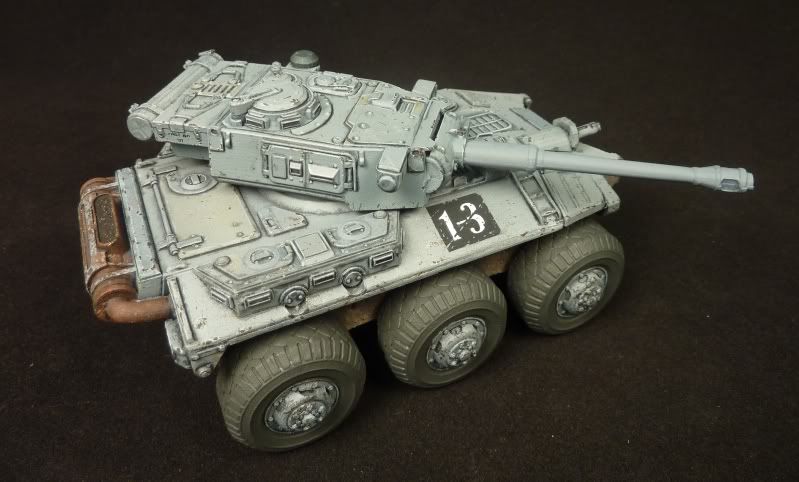
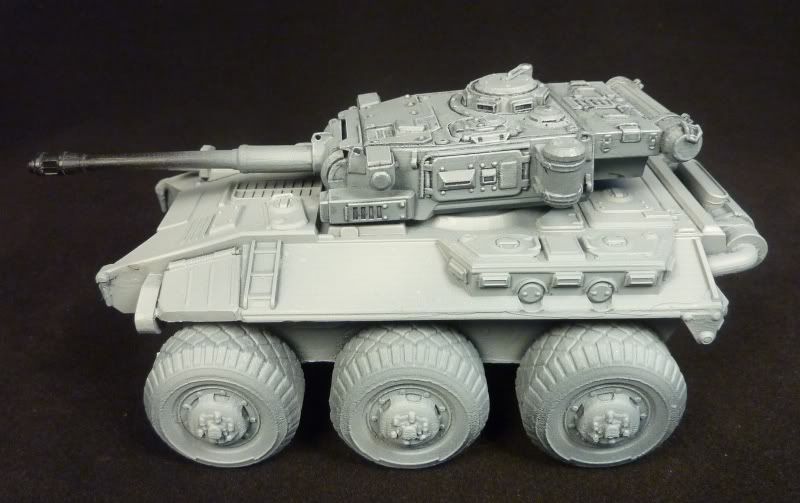
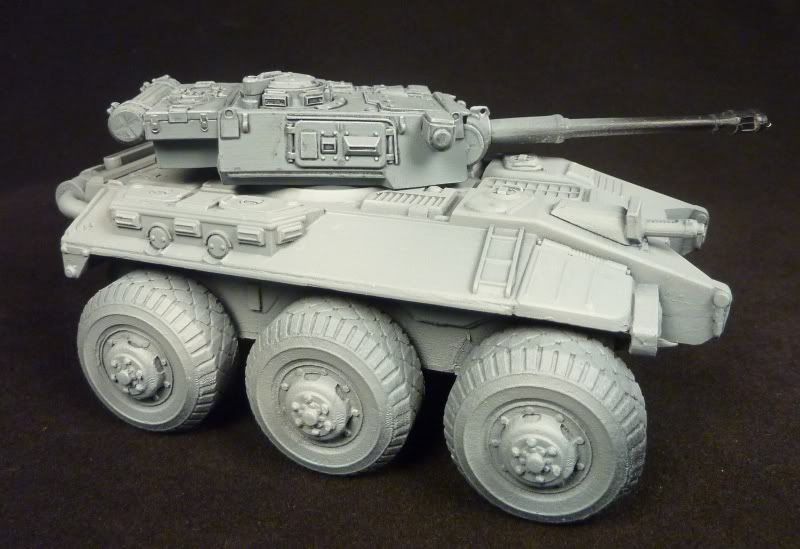
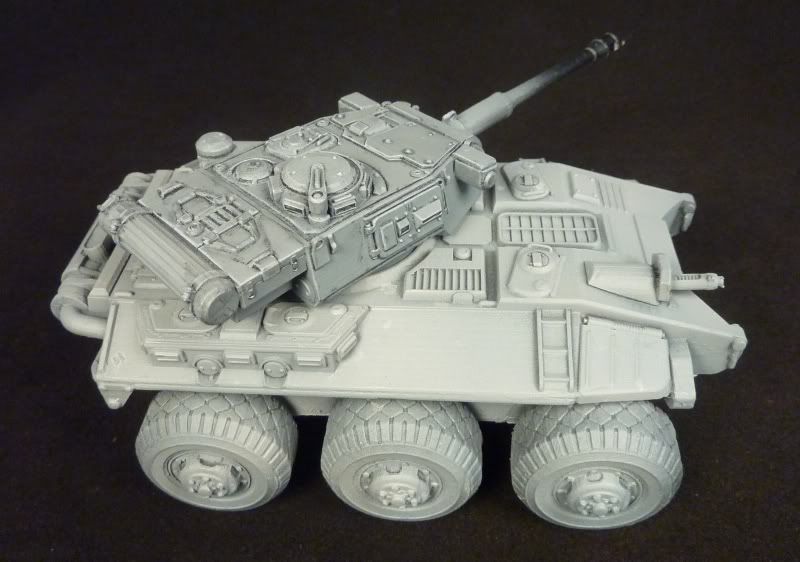
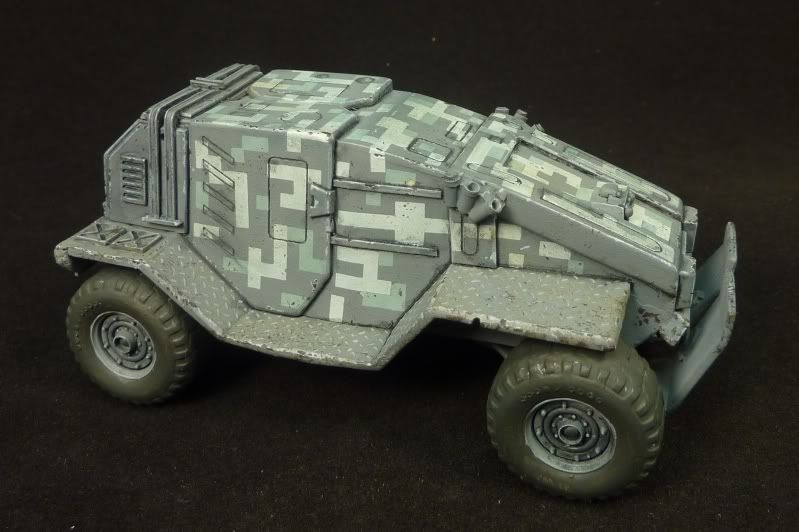
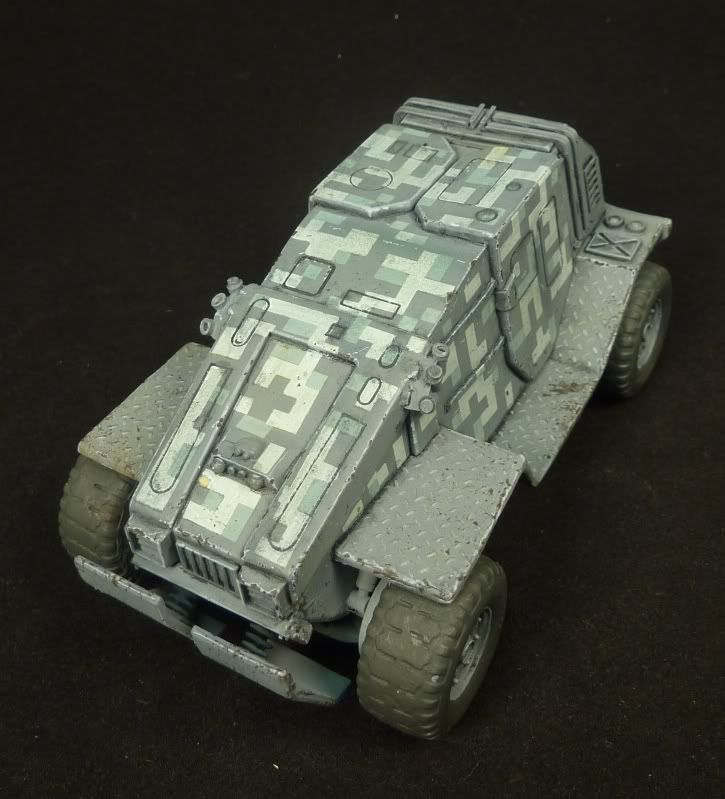
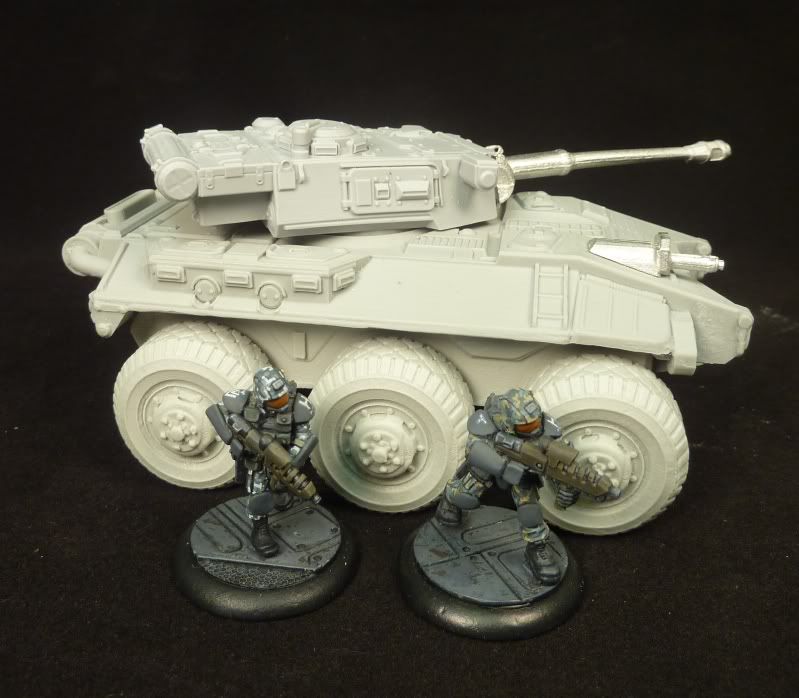
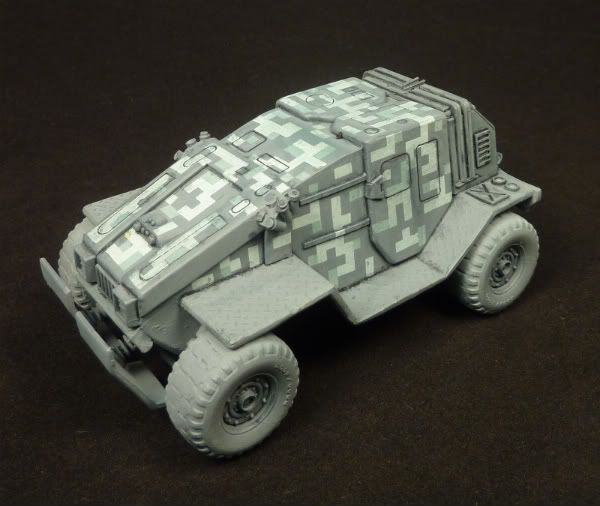
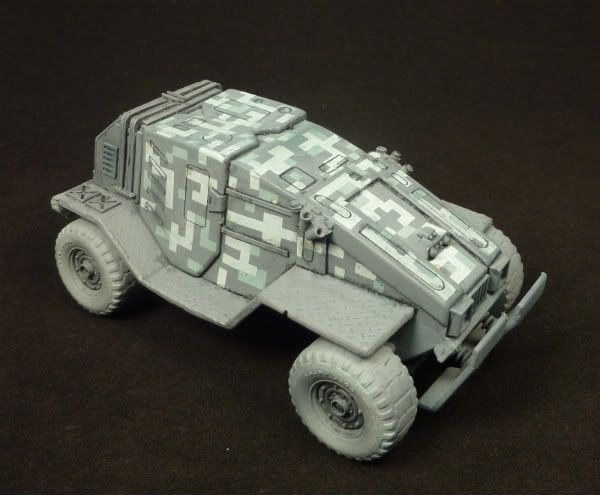
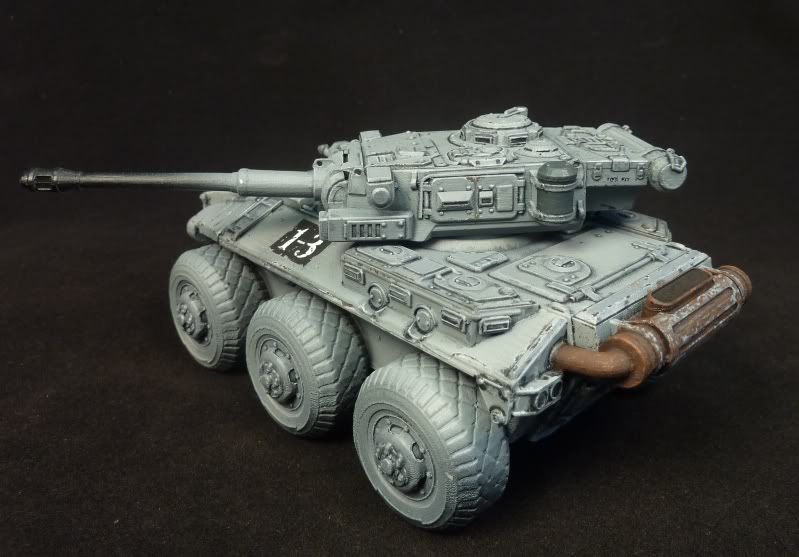
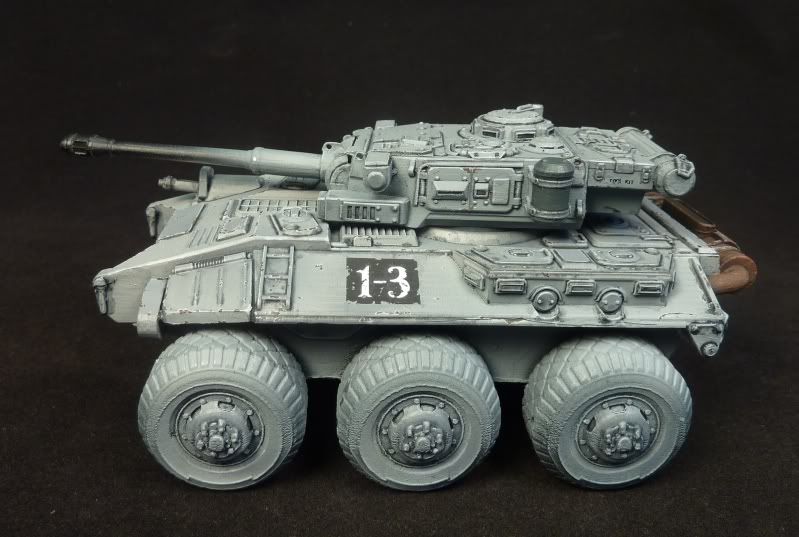
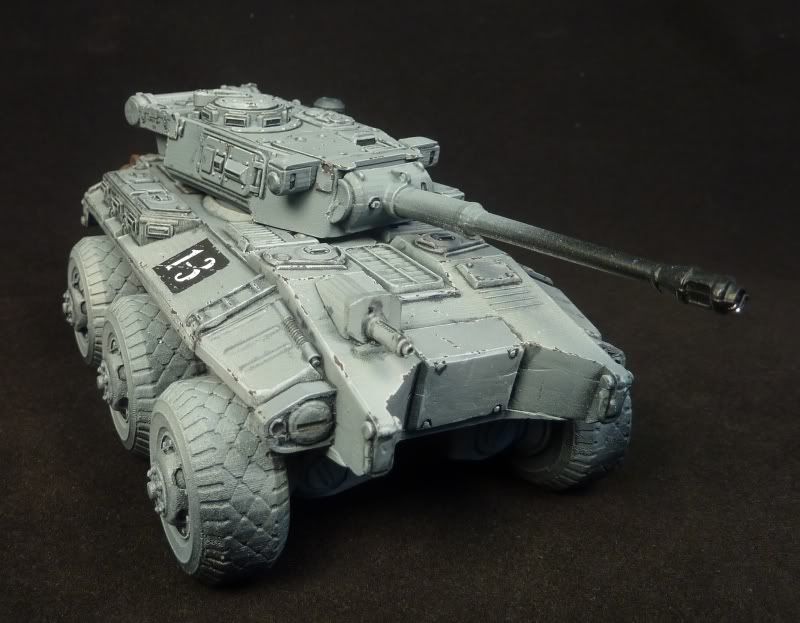
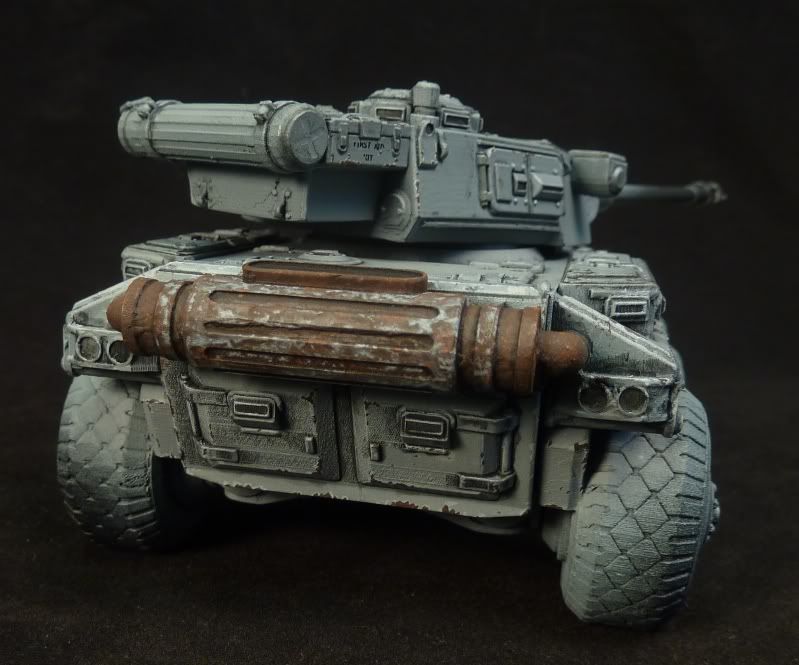
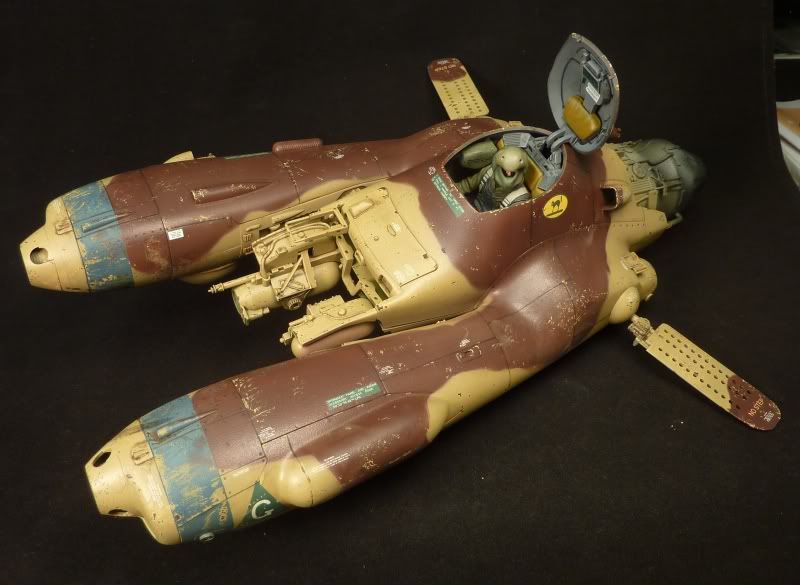
The second vehicle (yes, another Warthog) is an experiment in creating digital camo using dot matrix pre-cut masking tape. It's a great product - adheres very well, very little damage to the underlying paintwork when peeled off and no seepage! Bugger to apply and keep it all at right-angles though. I got mine from Japan and I'm not aware that it's available elswhere although Jed is hoping to stock it sometime in the near future. As I say, very much an experiment.....


The best of compliments...

...from Sally on TMP.
"I think i ought to just set him up a desk in the workshop and give him the masters to paint as they come in, Davids painting and Kevs sculpting work very well together! Thanks Dwartist, as usual she looks fab"
Made my day!

Sunday 15 January 2012

Here's some good news...

...some time ago I pre-ordered Micropanzer's Russian Heavy Combat Armour but until very recently it looked as if the difficulties Jason was having getting 3d prints of the quality he desired meant that they were unlikely to make it to production. Well they're up for order and well worth aquiring. Full build and review when the arrive. I also have one of his 28mm Amakudari Striders so will build and review that at the same time.


sorry - this is the only pic I could get. You can view them on TMP.

WIP: weathering vehicles 4...

...filters. Bearing in mind that my photography leaves a little to be desired you will probabley see little difference between this stage and the last but even in reality the changes are very subtle. I've added an overall  filter (stains the underlying colours) from Sin Industries - Tan for Tritonal Camo - then applied the Archer dry-transfer decals (generic Soviet stars and numbers as this is a Novoya-Rus vehicle and the camo is based on contemporary Russian camo) and applied a second coat of the filter. The filter brings the three, disparate colours closer in hue and makes the camo scheme more cohesive. Using a tan filter warms and fades the Green and Dk.Grey and gives the whole scheme a slightly dusty look. Filters should be applied sparingly - don't oveload the brush  - and act as a stain. Too much liquid will act as a wash and the tan will settle into and around detail (not too bad with tan as it looks like dust - see the raised sensors on the roof) and negate the dark lining done in the first stages. Below is the vehicle at this latest stage compared to stage three....
stage four


stage three


more stage four pics


next up chips and scratches.